
Hello everyone, I am Adarsh and in this blog, we are gonna make a Thief Monitoring Device. The basic concept that we shall use here is interfacing of PIR sensor with arduino. But before we discuss about the project let us understand the PIR sensor.
What is PIR Sensor
PIR Sensor is a pyroelectric sensor. It is also called Passive Infrared Sensor. This electronic sensor finds its best application in motion detection. A human being or an animal emits IR i.e, infrared radiation. PIR sensor detects this IR radiation. We shall use this concept in building the project. Non-living things don’t emit IR radiation and hence PIR sensor cannot detect it.
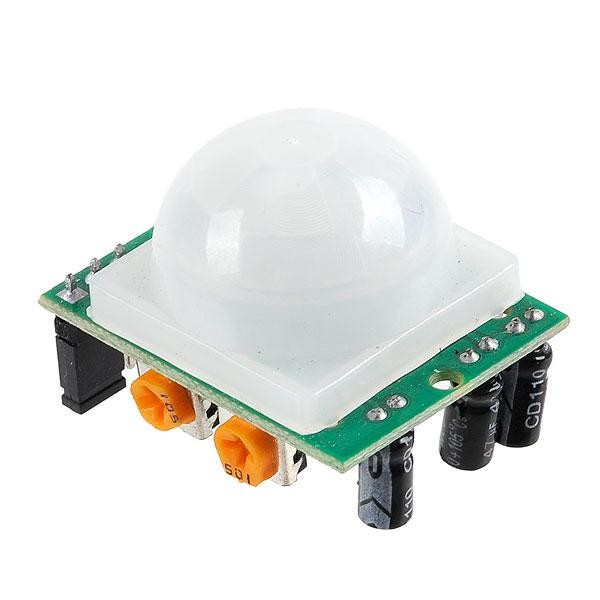
The sensor has three pins namely , VCC, Output and GND.
VCC is the power supply for the HC-SR501 PIR sensor which we connect the 5V pin on the Arduino.
The output pin is a 3.3V TTL logic output. LOW indicates no motion is detected, HIGH means some motion has been detected.
GND should be connected to the ground of Arduino.
Sensitivity– This sensor has the capacity to detect from a distance ranging from 3 to 10 meters.
Time-Once the output is high, it remains for 3 secons to 5 minutes depending upon its settings.
Things Required –
- Arduino x 1
- PIR Sensor x 1
- LED x 1
- Mini Breadboard x 1
- 220Ω Resistor x 1
- Jumper Wires
First we’ll see the result –
Steps –
Connect your Arduino with your Computer or Laptop.
Download and install Arduino IDE in your Computer.
Then make a file in Arduino IDE, copy and paste the following code –
Complete code on PIR sensor interfacing with arduino.
int sensorState = 0;
void setup()
{
  pinMode(2, INPUT);
  pinMode(13, OUTPUT);
  Serial.begin(9600);
}

void loop()
{
  // read the state of the sensor/digital input
  sensorState = digitalRead(2);
    // check if sensor pin is HIGH. if it is, set the
  // LED on.
  if (sensorState == HIGH) {
    digitalWrite(13, HIGH);
    Serial.println("Sensor activated!");
  } else {
    digitalWrite(13, LOW);
  }
}- After that click on Upload button and wait for some time.
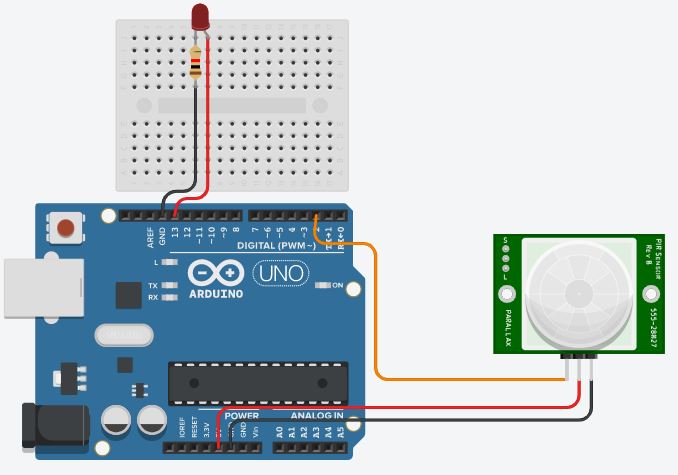
- After uploading the code in arduino, make the circuit that follows –
That’s all, you have made the project on PIR SENSOR INTERFACING WITH ARDUINO.It can be used as thief detector.
If sombody fill any doubt or has a querry, please put it down in the comment box. We shall try to answer it at the earliest.